I like sharing new things I learn ‘on the fly’ with everyone. I’ve not done many online tutorials but I’m quite confident about it and I’m hoping to offer an ‘organic’ service. Blogging as and when I overcome a hurdle. This could do with anything such as my business, wordpress, graphic design, web design, FTP, tips, tricks, how-tos, hacks, this, that and blah blah blah(!)
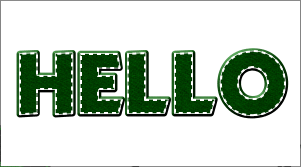
Just recently, I had a client who wanted a leaflet design to advertise a new women’s sewing course in Burnley, Lancashire. She would teach the basics of sewing tunics, blouses, trousers and other Asian ‘salwar kameez’ garments. As part of the design, I decided to make the main heading on the leaflet look like it was embroidered with stitching around the edges.
Xara Xtreme Pro is a great British vector graphics tool which I have been using for a few years. However, I couldn’t find a ‘Live Effect’ that would make fonts, shapes and graphics look like they were embroidered. Instead of using other stand-alone software to create the desired effect, I used Xara to apply various effects to the font to get the end result. I suppose you can use the same steps in other graphics editors like PhotoShop or Illustrator. Here’s a quick run-down.
Create Text
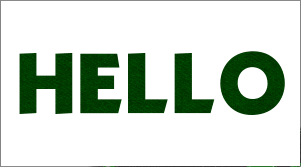
First, select your desired font, text and colour.

Select text and colour.
Add Fabric Fill
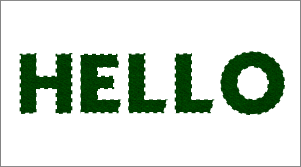
Go to Fill Gallery> Fabric> denim.jpg. Apply the fill to your text. A quick way of doing this is to simply ‘click and drag’ the fill image into your text.

Add fabric fill
Add The Dashed Outline
Apply a white outline, about 2px should do. Resize to suit. Then, go to Line Gallery> Dash Patterns> and change the outline to a dashed line. Make sure the dashes are short and close together, with no wide gaps. This should create the desired effect.

Apply a dashed outline
Add The Rounded Bevel
To finish, apply a small bevel to the text. Go to the Bevel Tool (CTRL + F3) and apply a ‘flat’ bevel, about 2px wide. this should simply overlap overlap the dashed outline.

Add a flat bevel
The above worked for me, and it looked great when it was printed. If you stick to the basics, text, fill, dashed outline and bevel, you can adjust as you see fit. Also, try putting your embroidered text on a background with the same ‘denim.jpg’ fill. It looks even better!
How Do You Get The Same Effect?
Any PhotoShop, Illustrator or Quark Express users know how to do this? Maybe there’s an easier way of doing it in your graphics suite. Let me know by leaving a comment below.


i’ve emailed you a question about this, please reply herbs